


Hey guys! I guess you must be tired of visiting Wikipedia for a small summary or finding a random interesting article to read or get a summary about it? Well, same here, but you can solve that by tackling it smartly with Python. So we’ll be using the official Wikipedia REST API to scrape the data from it and use it when we’re all lazy to learn; let’s learn how!
Alright, before diving into the project, we need to see what topics we’re going to cover :)
Here’s the roadmap:
- Part 1: Install and set up everything.
- Part 2: Build the scraper to fetch JSON
- Part 3: Build the parser, which will help fetch different things like
random_articleorsummary. - Part 4: Integrate those changes into a CLI
Before we start, I want to tell you that all the code used here can be found in this GitHub repo here
Now we’re ready to roll!
Part 1: Install and set up everything
So, in this section, we’re going to set up the things required to get started.
We need the following tools:
- Virtualenv: To separate the global packages.
- Pipenv: To create the packages and install them.
If you're not familiar with pipenv, It's an awesome way of making a virtualenv, supporting various Python versions, and allowing you to make shortcut scripts, like an alias for a command.
It also supports to install normal packages and development workflow packages together with install commands allowing you to install respective packages based on your use with just a single command pipenv sync for production dependencies, or pipenv sync -d for all packages, including the development packages too.
Instructions for installing pipenv and the packages:
Other than Python, you need to have pip installed so that you can gather these dependencies.
Use this command to install pipenv if you haven't installed it: pip install pipenv.
And, once it’s installed, you’ll now need to install the dependencies, which are:
Requests- A tool for using the HTTP easilyClick- An awesome framework for making CLIs in Pythonhtml2text- Removing useless HTML and filtering the text in our text easily
So, use this command to install them:
pipenv install requests click html2text
And, once they’re installed, you’ll notice this change in your Pipfile:

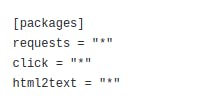
This makes sure that the 3 packages we need are successfully installed.
To use the commands inside the virtualenv (pipenv in this case), we need to activate the environment by using this command: pipenv shell, which separates the global packages and local packages.
Now we’re ready to write some code!
Part 2: Build the scraper to fetch JSON
Now make a directory or a folder called src where we will be storing the source code to get mixed with configuration files.
Then add a file called scraper.py that we’ll design to fetch the JSON from the API and utilize with the further steps ahead.
Let’s start coding.
So, since we have created the file, we need to write code that fetches the normal JSON from the API of Wikipedia. It's located at https://en.wikipedia.org/api/rest_v1. But when you visit it, you’ll notice that it doesn't give us JSON in the root URL. So we need to make a reusable function that goes to each route like /pages/random after the base URL and fetch it’s JSON.
Documentation of Wikipedia API:
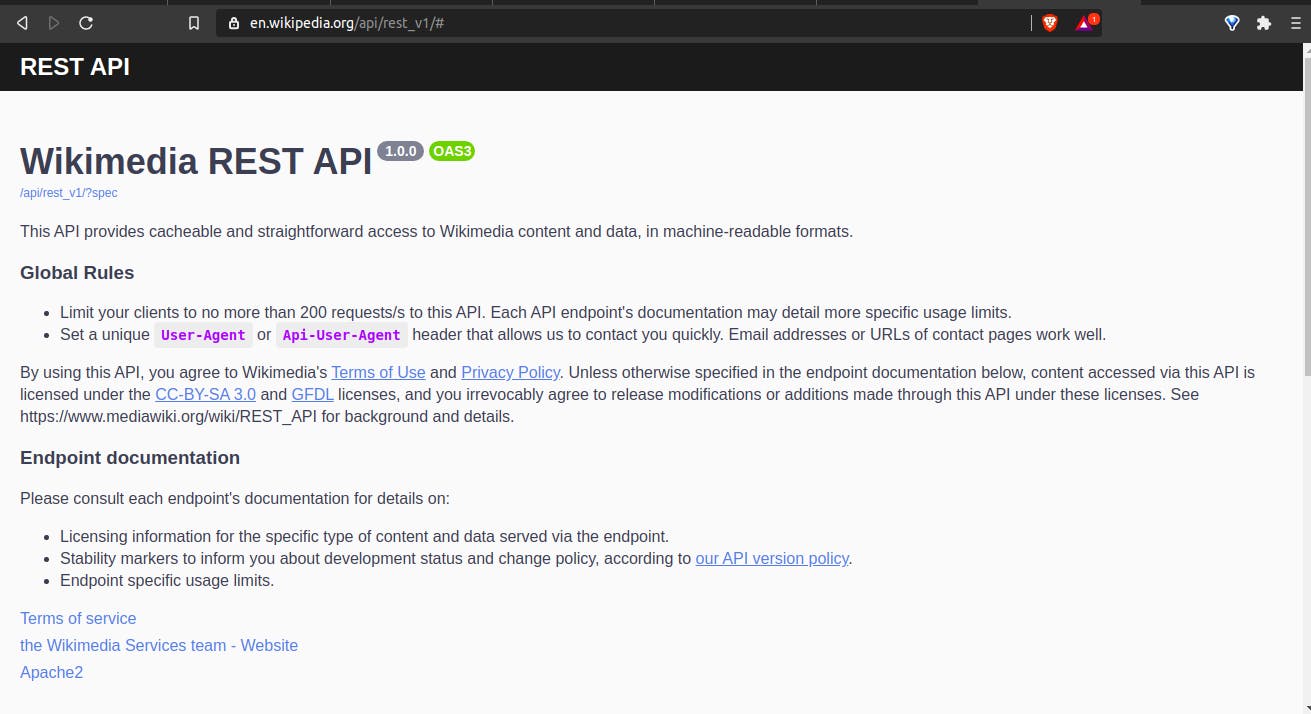
Let’s create the function:
import requests

base_url = "https://en.wikipedia.org/api/rest_v1"

def _get_json(url):

return requests.get(base_url + url).json()
This piece of code visits the route specified, adding it to the base_url specified, then visits it, scrapes the JSON response, and returns it to store in a variable.
So, we're now done with the scraper, time to bring the parser into action!
Part 3: Build the parser
Now we're going to build the parser, which will now fetch from each route specified from the base URL using the function, we will be reusing to do it.
Let's start by creating a file inside the src/ folder named parser.py.
This is how the final source folder will look like:

So, let's now first configure the html2text to clean and remove redundant HTML in our response.
So, do this:
import html2text

handler = html2text.HTML2Text()
handler.ignore_images = True
handler.ignore_links = True
handler.bypass_tables = True
handler.ignore_emphasis = True
handler.escape_snob = True
handler.escape_html = True
This configures the html2text instance like this,
- Ignore images: True
- Ignore links: True
- Skip the tables: True
- Ignore the
<em>tag: True - Escape the redundant HTML and Snippets: True
And, Now let's do the rest of the imports.
import requests

from scraper import _get_json
So, we import the reusable scraper which we made in the first section, and also random.choice to select
Let's try out the scraping function by fetching a random article's title and returning it.
def wiki_random():
    request = _get_json("/page/random/title")

    return request["items"][0]["title"]
This is how the URL redirects to a random article URL:
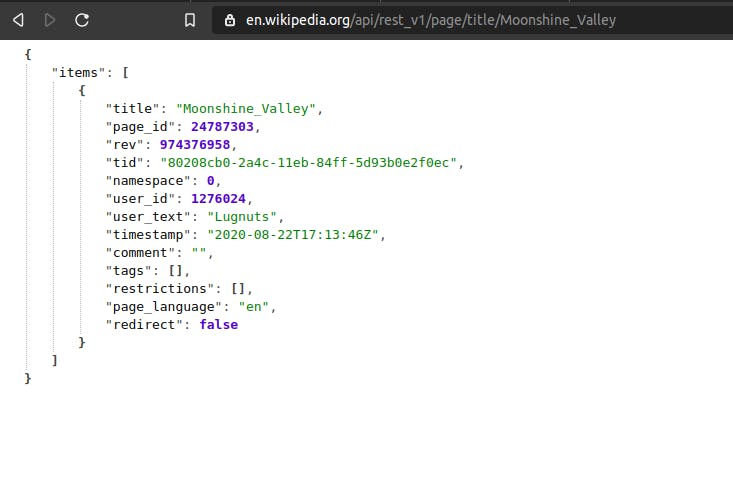
All of these routes are available in the documentation in the base URL mentioned above. You can visit it or ask me in the comments if you have any trouble.
Now let's try to summarize an article with error handling for the errored JSON.
So, when errored JSON is shown, we have a key of detail which gives us the info. We'll use it as follows:
def wiki_summary(query):
    request = _get_json(f"/page/summary/{query}?redirect=true")

    if "detail" in request:
        return "Article Not found!"

    return request["displaytitle"], request["extract"], request["content_urls"]["desktop"]["page"]
This is the summary JSON view below:
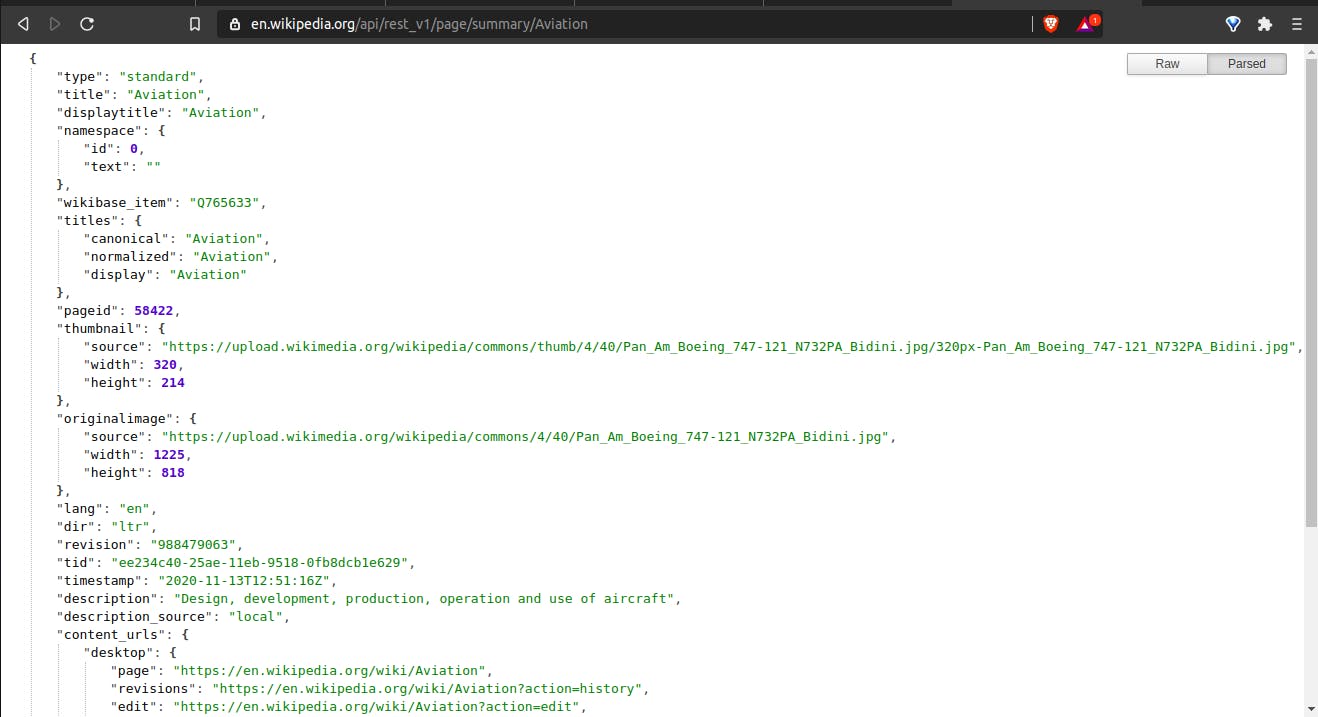
This returns the title, summary and also the article link! Awesome right?
And for the final part, let's try to generate a PDF Format of the article by obtaining it's bytecode and writing to a PDF File with the same name as the article ;)
Here's the code:
def pdf_download(query):
    request = requests.get(f"{base_url}/page/pdf/{query}")

    if "detail" in request:
        return "No such page found!"

    return request.content
So, when we visit the link manually, we observed that it downloads the PDF. But when accessed using requests, it stops the download, parses the bytecode out of it, and returns it. If we need to download the file, we can write the binary by creating a file and writing using write-binary mode in this way: with open("test.pdf, "wb") as the file.
We return the bytecode here to write it to the file when the user requests it.
Part 4 - Integrate them into a CLI!
Time to wrap things up by finalizing by creating the CLI and serving all the data outputs, using the parsers we designed.
Let's start by importing first:
from textwrap import dedent

from click import echo, group, option

from parser import (
    wiki_random,
    wiki_summary,
    pdf_download,
)
So, we're importing dedent to format multiline F-strings, click to create the main CLI, and the parser functions to serve the data after being processed by them.
Now let's first make the base command to support things like
python app.py random or python app.py article --query="Adolf Hitler"
Sounds fun, right? let's start!
Here's going to be the base command, which will subgroup the others
@group()
def wiki():
    pass
So, The @group decorators make the first command, which will contain other subcommands like random or pdf, which will be accessed like this python app.py random, and it makes out work a lot easier!
Since it does nothing, I've added pass to it for now.
Now let's implement the random article title command that works like this: python app.py random, which shouts out a random article for you to read :)
It works like this:

Let's bring it into action:
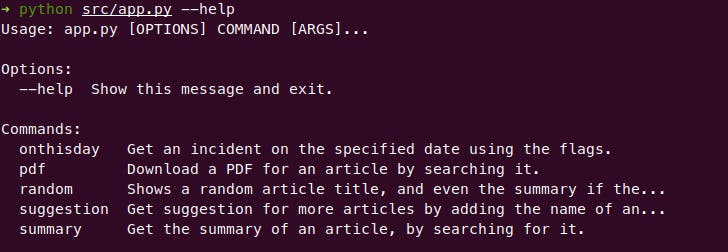
@wiki.command(help="Shows a random article title, and even the summary if the summary flag is specified.")
def random():
        title = wiki_random_summary()
        echo(f"A random interesting topic is {wiki_random().replace('_', ' ')}")
Remember the @wiki.command() Uses this syntax: @<base_command>.command(), which creates a subcommand under the base command defined, hence helping us access in CLI later, and the help parameters inside it show the help like this:
And echo is a similar function for outputting things in CLI, instead of print
Let's implement the summary function:
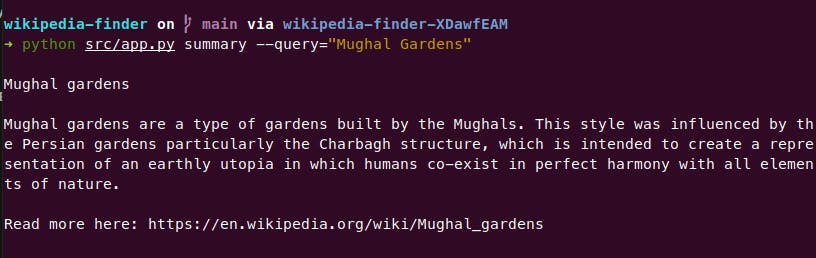
@wiki.command(help="Get the summary of an article, by searching for it.")
@option('--query', prompt="The query to search in wikipedia", help="The query to search in wikipedia")
def summary(query):
    res = wiki_summary(query)
    if isinstance(res, str):
        echo(f"ERROR OCCURED! {res}")
    else:
        title, summary, link = res
        echo(
            dedent(f"""
            {title}\n
            {summary}\n
            Read more here: {link}
            """)
        )
@option decorator makes our work easier for defining the CLI options in our file, which will be done like this: --query flag for sending our search term, or --range=3 (not included) for giving us the number of articles specified like I specified 3 here.
Here we do the error handling and use dedent to remove useless spaces while echoing or displaying the output, and another option of --query, that can be used to specify the article's title to show summary for like this.
And the last thing to do is implement the PDF function that works like this:
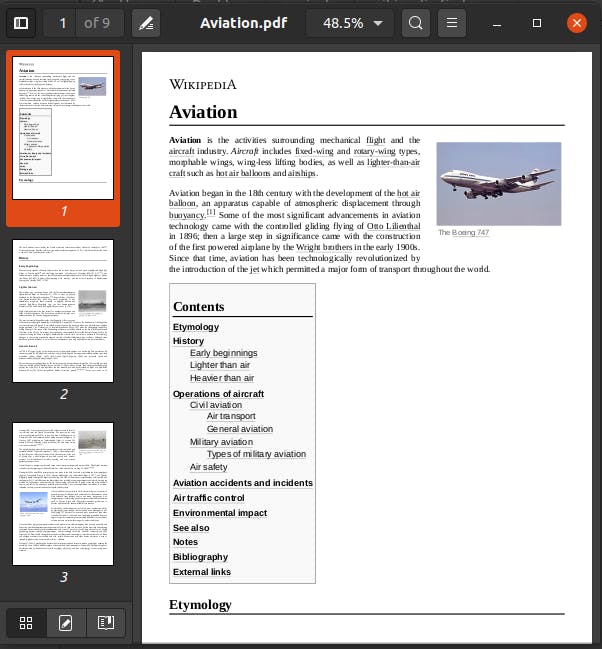
@wiki.command(help="Download a PDF for an article by searching it.")
@option('--query', prompt="The query to search in Wikipedia", help="The query to search in Wikipedia")
def pdf(query):
    res = pdf_download(query)

    if isinstance(res, str):
        echo(f"ERROR OCCURED! {res}")
    else:
        with open(f"{query.replace(' ', '_')}.pdf", "wb") as file:
            file.write(res)

        echo(f"File saved as {query.replace(' ', '_')}.pdf")
which saves the Bytes using wb write mode to a PDF file with the same article name which is search for. Let's see how it works:

It can be read like this:
It's awesome. I hope you've learned a lot while reading this and got a brief introduction to CLIs and how they work.
This has been quite long, I'll be starting a mini blog series with small blogs consisting of really awesome facts and easier to go through. Hope you enjoy them.
Been quite a while I have been inactive due to exams and personal break. But now I'll be starting again. Let's goooo!!
Thanks for reading. See you next time. ✌️